

Acer Aspire XC-603G motherboard jumper pinout helps you set up or troubleshoot your PC. It shows where to connect different pins to ensure your computer works correctly. Check the manual for the exact pin configuration.
In this article will help you understand what jumper pins are, how they work, and how to find and use them on the Acer Aspire XC-603G motherboard.
Table of Contents
What is a Motherboard?
A motherboard is the main circuit board in a computer. It connects all the important parts, like the CPU, memory, and storage. It lets these components work together to run the computer.
What Are Motherboard Jumper Pins?
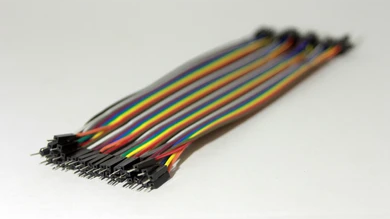
Motherboard jumper pins are small connectors that help configure hardware settings on your PC. They are used to set options such as system passwords, clock speeds, and other configuration settings. Jumper pins work in conjunction with jumpers (small plastic connectors) to enable or disable specific functions on the motherboard.
Why Understanding Jumper Pins Is Important
Knowing how to work with jumper pins is essential for troubleshooting and upgrading your PC. Incorrect jumper settings can cause boot problems or hardware malfunctions. Understanding jumper pinout helps you make precise adjustments and avoid issues that could affect your system’s performance or stability.
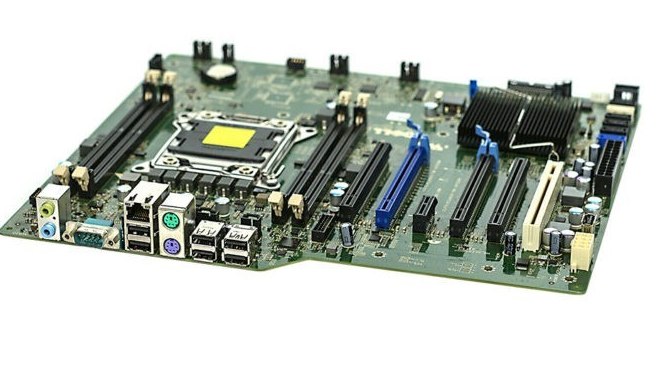
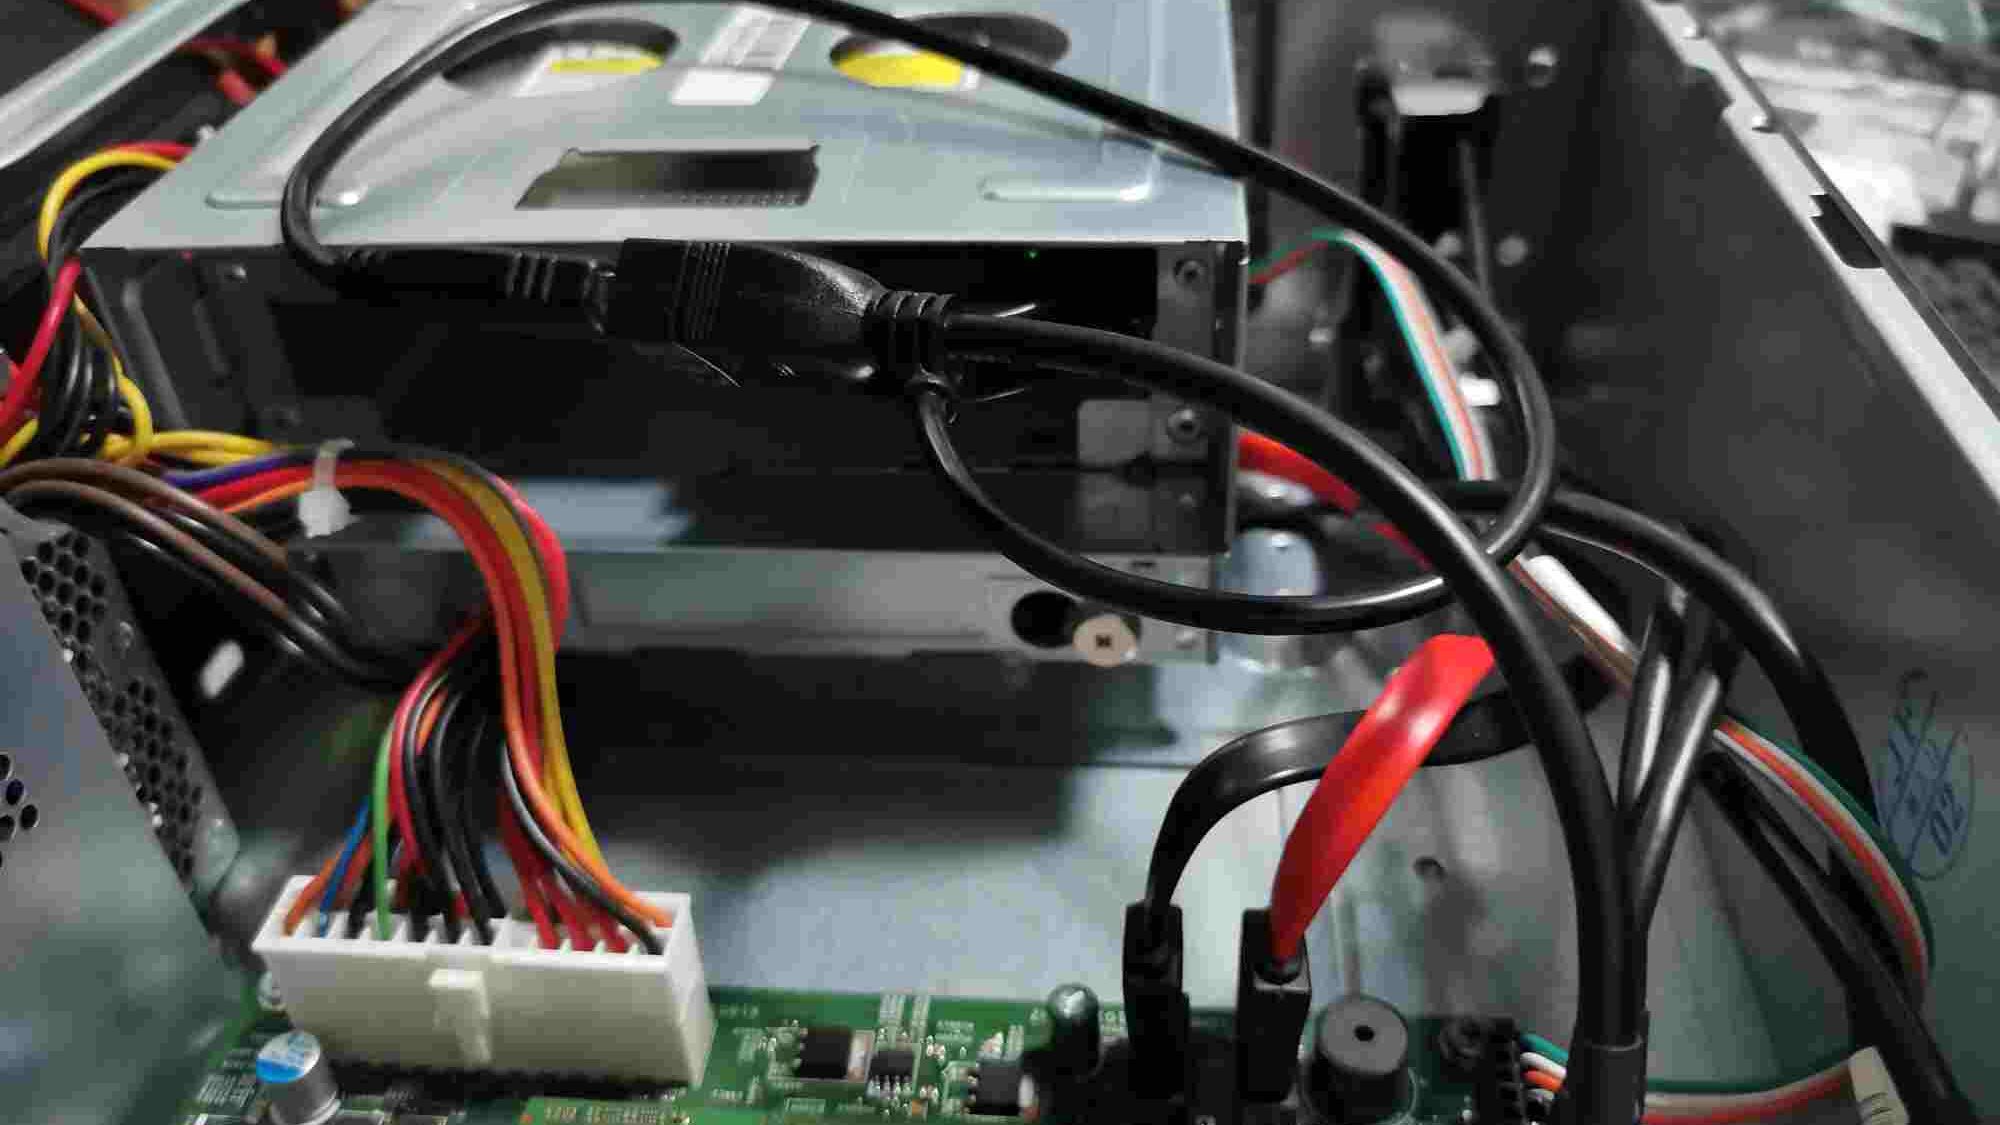
Finding the Jumper Pins on the Acer Aspire XC-603G
The Acer Aspire XC-603G motherboard features several jumper pins used for various functions. To locate the jumper pins:
- Turn Off Your PC: Ensure the computer is completely powered down and unplugged before opening the case.
- Open the Case: Remove the side panel of your PC case to access the motherboard.
- Locate the Jumper Pins: Look for small pins arranged in groups on the motherboard. The jumper pins are usually labeled directly on the motherboard.
Common Jumper Pin Functions
1. Clear CMOS Jumper
The Clear CMOS jumper is used to reset the motherboard’s BIOS settings to default. This can be useful if you’re having trouble with BIOS settings or if you’ve forgotten your BIOS password.
Location: Typically, the Clear CMOS jumper is located near the battery on the motherboard. It may be labeled as “CLR_CMOS” or “JBAT1.”
How to Use:
- Power Off: Ensure the PC is turned off and unplugged.
- Move the Jumper: Find the jumper on the Clear CMOS pins and move it from the default position (usually pins 1-2) to the reset position (pins 2-3). Leave it in this position for a few seconds.
- Return Jumper: Move the jumper back to its original position (pins 1-2).
- Power On: Plug in and power on your PC. The BIOS settings should now be reset to default.
2. Password Jumper
The Password jumper is used to clear or reset the BIOS password. If you’ve forgotten your BIOS password, this jumper can help you regain access.
Location: This jumper is often found close to the Clear CMOS jumper and may be labeled as “PASSWORD” or “PWD.”
How to Use:
- Power Off: Ensure your PC is off and unplugged.
- Move the Jumper: Locate the Password jumper and move it from the default position to the reset position.
- Power On: Turn on your PC. The BIOS password should be cleared.
3. BIOS Update Jumper
The BIOS Update jumper is used when updating or recovering the BIOS. This jumper can help in situations where the BIOS update fails or if the system fails to boot.
Location: The BIOS Update jumper is usually near the BIOS chip and may be labeled as “BIOS_UPDATE” or similar.
How to Use:
- Power Off: Ensure your PC is turned off and unplugged.
- Move the Jumper: Change the jumper position to the update mode.
- Update BIOS: Follow the BIOS update instructions provided by Acer.
- Return Jumper: Move the jumper back to its original position after the update is complete.
4. System Fan Jumper
The System Fan jumper controls the system fan’s speed settings. Proper fan configuration is important for maintaining optimal cooling and preventing overheating.
Location: Look for this jumper near the fan headers on the motherboard. It may be labeled as “SYS_FAN” or similar.
How to Use:
- Check Fan Settings: Verify the fan settings in the BIOS.
- Adjust Jumper: If your motherboard supports manual fan speed adjustments via jumpers, configure the fan speed accordingly.
Tips for Working with Jumper Pins
- Consult the Manual: Always refer to your motherboard’s user manual for specific jumper pin locations and configurations. The manual provides detailed diagrams and descriptions for each jumper.
- Handle with Care: When moving jumpers, use proper tools and avoid static discharge. Handle jumpers and connectors gently to prevent damage.
- Verify Configurations: Double-check jumper settings before powering on your PC. Incorrect configurations can lead to boot issues or hardware malfunctions.
Troubleshooting Common Issues
- System Does Not Boot: If your system doesn’t boot after changing jumper settings, ensure all jumpers are in their correct positions and check for any loose connections.
- BIOS Issues: If you encounter BIOS issues after resetting or updating, consider re-flashing the BIOS or checking for hardware conflicts.
- Overheating: If your system is overheating, check the fan configuration and ensure proper airflow within the PC case.
How do I clear the CMOS jumper on my Acer?
To clear the CMOS jumper on your Acer, first, turn off the computer and unplug it. Open the case and locate the CMOS jumper near the battery. Move the jumper from its default position to the clear position (usually two pins), wait a few seconds, then return it to the default position. Power on the computer.
What are the specs of the Acer Aspire XC-603G?
The Acer Aspire XC-603G typically features an Intel Core i3 or i5 processor, 4GB of RAM (expandable), and a 1TB hard drive. It also includes integrated Intel HD Graphics and various USB ports. For detailed specs, check the user manual or Acer’s website.
How do I update the BIOS on the Aspire XC-603G?
Update the BIOS, go to the Acer support website, find your model, and download the latest BIOS version. Then, follow the instructions provided in the download, which usually involves running the update file while in Windows or using a bootable USB drive.
My Acer AXC-603G case has two PCI card blanks in it. What motherboard fits with PCI Slots?
If your Acer AXC-603G case has PCI card blanks, you’ll need a motherboard with PCI slots to use them. Look for a standard ATX or microATX motherboard with PCI or PCIe slots that fit your case. Ensure it’s compatible with your CPU and other components.
Acer Aspire XC-603G motherboard CPU socket type?
The Acer Aspire XC-603G motherboard typically uses an Intel socket LGA 1151. This socket supports Intel Core i3, i5, and i7 processors from the 6th and 7th generations. Check the motherboard manual for exact details.
Acer Aspire XC-603G Graphics Card Upgrade?
Upgrade the graphics card in the Acer Aspire XC-603G, choose a card that fits the PCIe slot on your motherboard. Make sure it’s compatible with your system’s power supply and has enough space in the case. Install the new card by removing the old one and inserting the new card into the PCIe slot.
Acer Aspire XC-603G motherboard jumper pinout upgrade?
Upgrading the jumper pinout on the Acer Aspire XC-603G motherboard, refer to the motherboard manual. This will provide the pinout configuration for various functions like clearing CMOS or setting specific options. Always follow the instructions carefully to avoid any issues.
Acer Aspire XC-603G motherboard jumper pinout not?
If you need the jumper pinout for the Acer Aspire XC-603G motherboard and it’s not available in the manual, contact Acer support or look for online forums where users may have shared this information. Accurate pinout information is crucial for proper configuration and maintenance.
FAQs:
1. What is the Clear CMOS jumper used for?
Yes, the Clear CMOS jumper is used to reset the BIOS settings to default. It helps resolve issues related to BIOS settings and passwords.
2. How can I reset the BIOS password using the Password jumper?
Yes, you can reset the BIOS password using the Password jumper. Move the jumper to the reset position and power on your PC to clear the password.
3. Where is the BIOS Update jumper located?
Yes, the BIOS Update jumper is usually near the BIOS chip on the motherboard. It is used for updating or recovering the BIOS.
4. Can I adjust fan speed using the System Fan jumper?
Yes, you can adjust fan speed using the System Fan jumper, if supported. Verify and adjust fan settings through the BIOS or jumper configurations.
5. Is the Acer Aspire XC-603G motherboard jumper pinout information available online?
Yes, you can find jumper pinout diagrams and details online through various tech forums and the manufacturer’s website.
6. Can I use the jumper pinout guide for the Acer Aspire XC-603G to reset BIOS settings?
Yes, the jumper pinout can help you reset BIOS settings by following the correct jumper positions.
7. Is it important to follow the jumper pinout instructions carefully on the Acer Aspire XC-603G?
Yes, accurate placement of jumpers is crucial to avoid system issues and ensure proper motherboard functionality.
8. Does the Acer Aspire XC-603G motherboard have specific jumpers for clearing CMOS?
Yes, it includes a jumper for clearing CMOS, which is used to reset the BIOS settings to factory defaults.
Conclusion:
Understanding the Acer Aspire XC-603G motherboard jumper pinout is essential for maintaining and troubleshooting your PC. By familiarizing yourself with the functions of various jumper pins and following proper procedures, you can manage BIOS settings, clear passwords, and ensure optimal performance. Always refer to your motherboard’s manual for specific instructions and handle jumpers with care to avoid potential issues.

")

